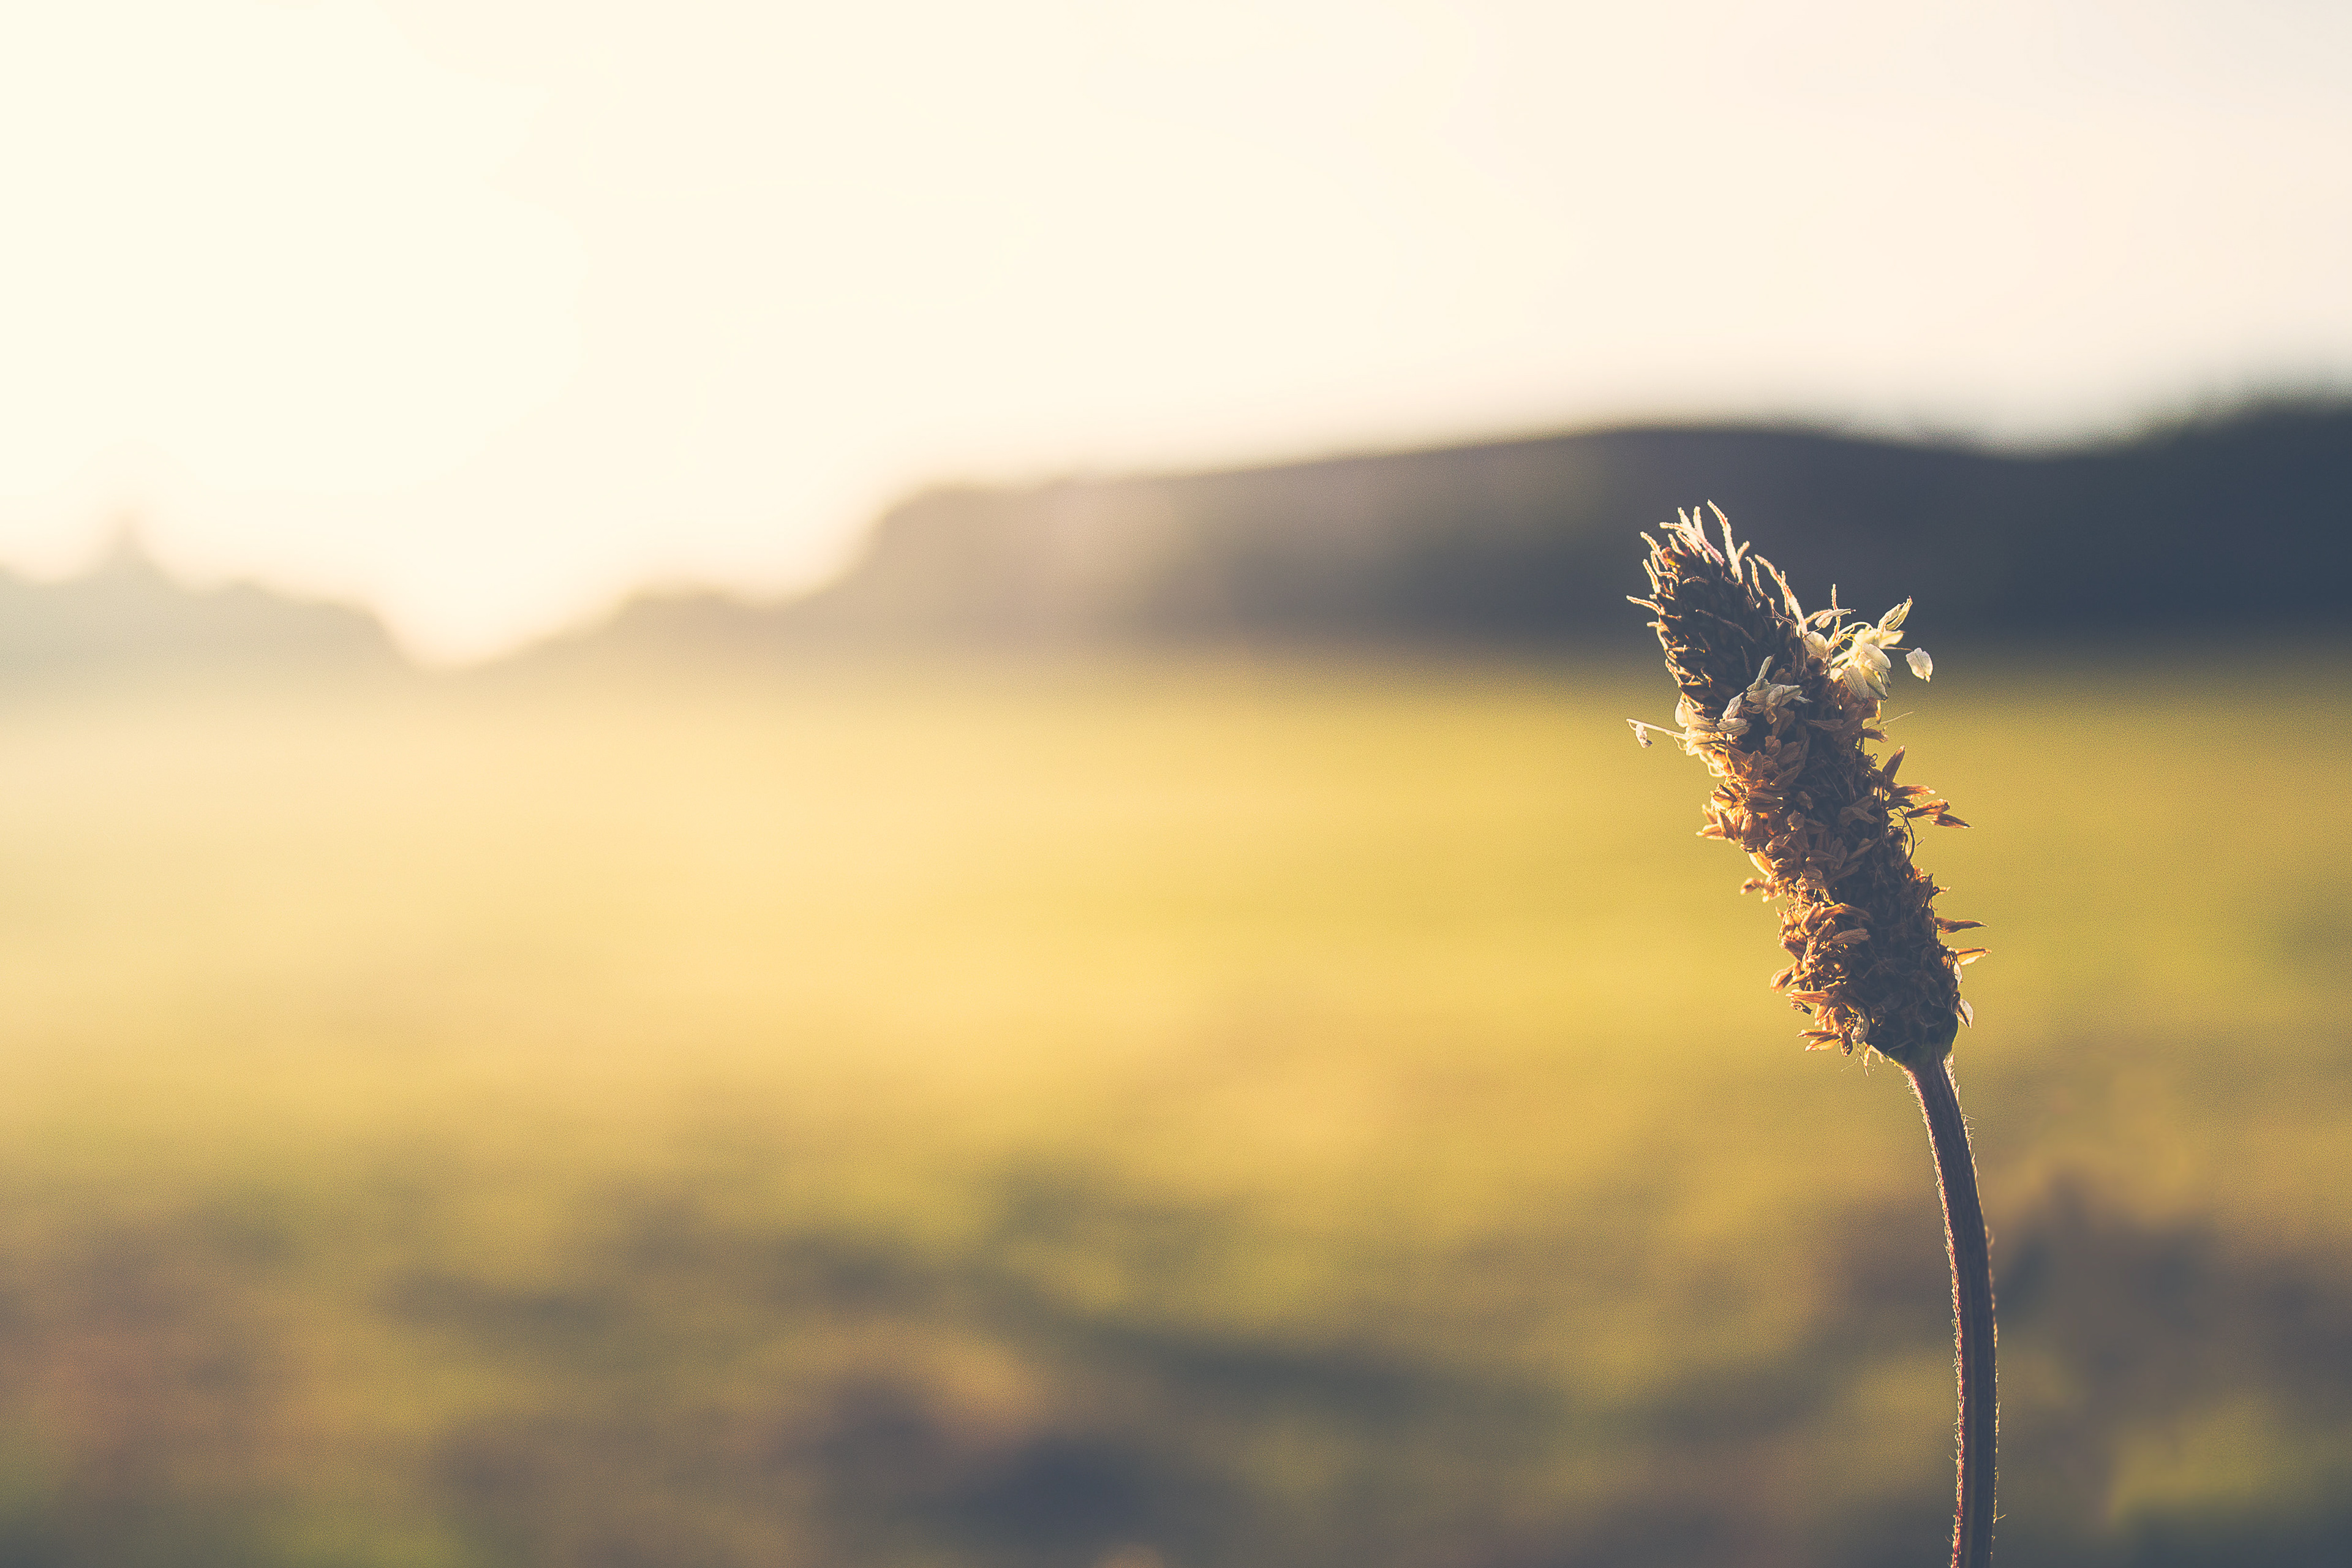
This is a photo I had taken ages ago. It's one of my favourite photos as it was so crisp. While trying to develop my workflows, I opened this photo up in Adobe Lightroom and made some basic adjustments. Next I exported it to Photoshop.

The first thing I wanted to do in Photoshop is a skill that I learned a while back (sorry I cannot remember where). First I duplicate the layer, desaturate that layer and then adjust the levels to make it quite heavy on the contrast.
I then go to Filter > Other > High Pass. I usually use a setting between 1 or 2 pixels and then I select the layer blend mode to Overlay. This sharpens your image up with little noise. I duplicate the layer depending on the strength of the sharpen effect I want. If you want to, you could mask the layer(s) and paint in your effect.

Next step is to add some more warmth from the sun. I use the colour picker to pick a light yellowish colour from close to the horizon. I then get a large soft edged brush and on a new layer I draw a blob of colour.
Next change the layer blend mode to Screen and adjust your layer opacity to suit.

Finally I add a Curves adjustment layer and a fill layer of dark blue using exclusion as my blend mode. I set the opacity of that layer to about 10 or 12%.
The final image below. What do you guys think? what would you change?